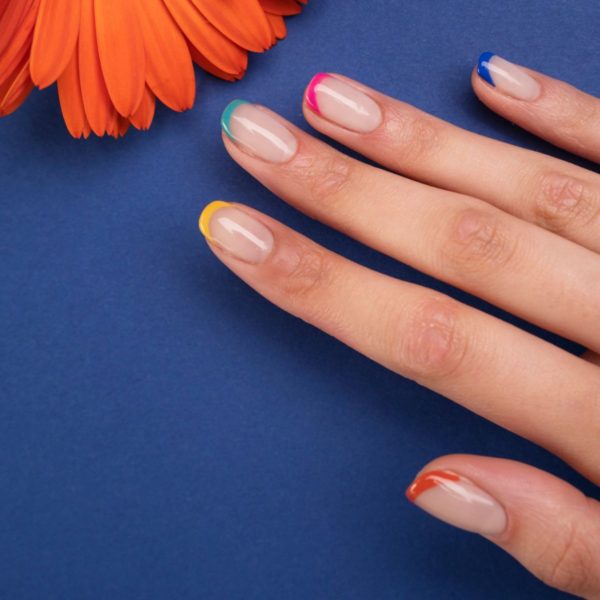
Do you have nail gels and you want them to be removed off your fingers? You have to know that nail gels look beautiful and appealing and that is probably the reason why you applied them.
But as time passes by, these nail gels start to wear out and will soon look ugly and unappealing. If this is the case, you do not want to have those ugly nail gels remain on your fingers any longer so you want them removed.
The truth is that nail gel removal is a difficult thing to do and is sometimes impossible. When things like these seem to annoy you, it is highly recommended to look for the help of a beauty technician or someone who is an expert in manicure and pedicure.
However, if you want to do the procedure on your own, here we share a step-by-step guide to explain how to remove gel nails at home.
Step-by-Step Gel Nails Removal Guide
1st Step: Choose the Right Place to Remove the Gel Nails
When you need to do the procedure of removing nail gels off your finger, the very first thing that you need to consider is the place where you are going to perform the procedure. An ideal place perfect for nail gel removal is a place where ventilation is ample.
The outdoors is highly suggested as the best place to remove nail gels. It is also a great choice to stay beside an open window when you are removing your nail gels.
These places are good for you so that you will not inhale the very strong odor emitted by the nail polish remover and the nail gel itself.
Smelling the odor for quite some time is deliberately intoxicating so you better make sure that the place is well-ventilated, hence, there’s no room for those harmful odors to stay and remain in the place while you perform the nail gel removal.
2nd Step: Remove the Nail Polish
A lot of women skip this process as they believe that taking off the nail gel will remove the nail polish anyway.
This is a wrong belief that had led many women feeling frustrated in removing the nail gels off their fingers.
In fact, removing the nail polish first will help you save yourself from becoming frustrated and irritated as you do the process.
By removing the nail polish initially, it will be much easier for you to take off the slightly dissolved nail polish residuals and spots on your fingers.
To remove the nail polish, you have to prepare cotton balls. Use these cotton balls and apply the nail polish remover as well. This will effectively remove all the nail polish off your fingers.
3rd Step: Soak Your Hands
After you have removed the nail polish off your fingers, pour nail polish into a bowl; make it half-filled.
For best and faster results, you may warm up the nail polish a little.
After this is done, you may put your fingertips in the bowl allowing the gelled nails to submerge.
Do this for quite some time and as soon as you feel that the solution is no longer warm, you may add an additional warm acetone.
4th Step: Try Removing the Gel Gently
After five minutes or the moment, you have smelled a strong odor and that the gel is a little sticky and soft, you may now try to remove the ends of the nail gel gently.
With the help of an orange stick, it will be easier for you to pry the sticky tips off the nail beds.
If you feel that pulling the gel is a bit painful and that the nails would not budge, simply stop pulling and continue soaking your fingertips in the warm mixture.
You have to take note that it is not advisable to pull the nail gel with force as this can damage the real nails.
Keep on soaking your fingertips until you feel comfortable removing the nail gels off your finger.
5th Step: Take off the Residues
After you have removed the big portions of gels on your fingers, use a cotton ball with fresh nail polish to remove the remaining residues and sludge on your nails.
Doing this procedure can make your natural nails slightly rough. You can remove the roughness by simply buffing them with a nail buffer or a nail file.
Keep in mind that you have to do the nail gel removal procedure one hand at a time to make sure that your other hand works for the other.
After the first hand has been cleared from the nail gels, you may repeat the entire procedure to your other hand.
Finishing Touches
After you have already freed your fingers from the hard and stubborn nail gels, you will come to know that your real nails have been weakened by the complex procedures they have undergone.
The healing process would take some time before they get back to their former health and condition.
In account to this, you have to be very extra careful with your nails. It is highly suggested that after the procedure, it would be best to cut your nails using the emery board design or simply make use of the nail file constantly until you achieve the suggested nail cut design.
Finally, apply a natural coating or polish to your nails.
